
Items
99 Nights in the Forest items — tools, weapons, crafting stations and fuels: Good Axe, map, compass, Tier 3 bench, taming flute, medkits and the secret chainsaw.
Introduction
Items are the difference between a survivor and a statistic in 99 Nights in the Forest. Tools multiply the wood economy, navigation gear keeps you from getting lost, healing items save teammates, and the crafting stations unlock entire branches of recipes. The Pelt Trader's early deals — the Good Axe and Good Sack — are community favorites because they quietly improve every run after them. This page catalogues the essential tools, weapons, fuels, crafting stations and hidden items, how to get each one, and what it is actually best used for. Knowing the item tree means never crafting the wrong thing at the wrong time.
Essential Item Table
| Item | Category | How to Get | Best Use |
|---|---|---|---|
| Good Axe | Tool | Pelt Trader (Rabbit's Foot) | Faster wood gathering |
| Good Sack | Utility | Pelt Trader | More inventory space |
| Old Flashlight | Tool | Loot / craft | Stun The Owl |
| Map + Compass | Navigation | Craft for 3 wood | Never get lost |
| Lightning Rod | Station | Tier 3 bench | Protect campfire from storms |
| Charcoal | Fuel | Refined from wood | Compact high-value fuel |
Item Essentials
Good Axe
The best early Pelt Trader deal and the first upgrade most players should make.
Map + Compass
The navigation trio that stops you from ever getting lost at night.
Tier 3 Bench
The crafting station that unlocks the late-game recipe tree.
Medkits & Bandages
The healing pair that keeps runs alive and teammates standing.
Taming Flute
The beast tool that turns wolves and mammoths into allies.
Secret Chainsaw
The hidden weapon tied to secret achievements and badge hunting.
Core Mechanics
Items live on a crafting and trading progression. The crafting bench advances through tiers — Tier 3 unlocks the crock pot and lightning rod — while the Anvil produces combat and healing gear like bandages and medkits. Fuel comes from multiple sources: wooden chairs, coal, gasoline and refined charcoal all feed the campfire, and charcoal is the compact high-value option you can produce yourself. The Pelt Trader trades items like the Rabbit's Foot for upgrades like the Good Axe, making animal drops a currency in their own right. Hidden items add a third layer: the Secret Chainsaw is tied to secret achievements and locations, and the Taming Flute upgrades from a basic tool into a beast-commanding instrument.
Advantages
Knowing the item tree stops wasted resources. Rather than spending wood on a tool that barely helps, you craft the Good Axe early and watch every future wood trip speed up. The map, compass and sundial turn night navigation from a death sentence into routine, and the lightning rod protects your campfire from storms that would otherwise end runs. Healing items are life insurance: bandages revive teammates, and medkits heal the wounds that would force you to camp. Even fuel knowledge pays off — converting wood into charcoal gives you a compact, high-value fuel that keeps the fire burning longer per inventory slot.
Challenges
The weaknesses of the item system are cost, progression gating and hidden knowledge. The best items sit behind the Tier 3 crafting bench, which means you must invest wood and materials in station upgrades before the good recipes open. Fuels are also slot-hungry: hauling gasoline and charcoal competes with wood and loot, and a bad inventory call at the wrong moment can leave you without fire fuel when darkness falls. Hidden items like the Secret Chainsaw are genuinely secret — most players never find them without a guide — and trading with the Pelt Trader requires knowing the right items to collect, which the game itself never fully explains.
Frequently Asked Questions
What is the best first item to get?+
How do I unlock the lightning rod?+
What is the best fuel for the campfire?+
Quick Tips
Turn wood into charcoal at the campfire. Charcoal is a compact, high-value fuel that burns longer per inventory slot than raw wood, and it turns your firewood surplus into a reliable emergency reserve. One charcoal grid in your sack can save a night where the cabins are miles away. One charcoal grid in your sack can save a night where the cabins are miles away, which is exactly the kind of margin that separates an ordinary death from a legendary survival run.
Always carry one navigation item. Even if you know the map by heart, the compass stops the camera-spin disorientation that gets players lost at night. The 3-wood map is the cheapest insurance in the game — craft it on day one and forget about the treeline panic. The 3-wood map is the cheapest insurance in the game — craft it on day one and forget about the treeline panic, because the few minutes of crafting repay themselves dozens of times over across the nights.
Stock bandages before you need them. Crafting at the Anvil takes time and materials, and doing it mid-raid while a teammate is downed is the worst possible moment. Two bandages in the shared inventory at night start turn a wipe into a revivable mistake. Two bandages in the shared inventory at night start turn a wipe into a revivable mistake, and that one saved revive can be the difference between losing the run at night forty and clearing all ninety-nine.
Featured

99 Nights in the Forest Good Sack: Best Inventory Upgrade
See how the Good Sack upgrades your 99 Nights in the Forest backpack, how many extra slots it adds, and the fastest way to craft it at the workbench.
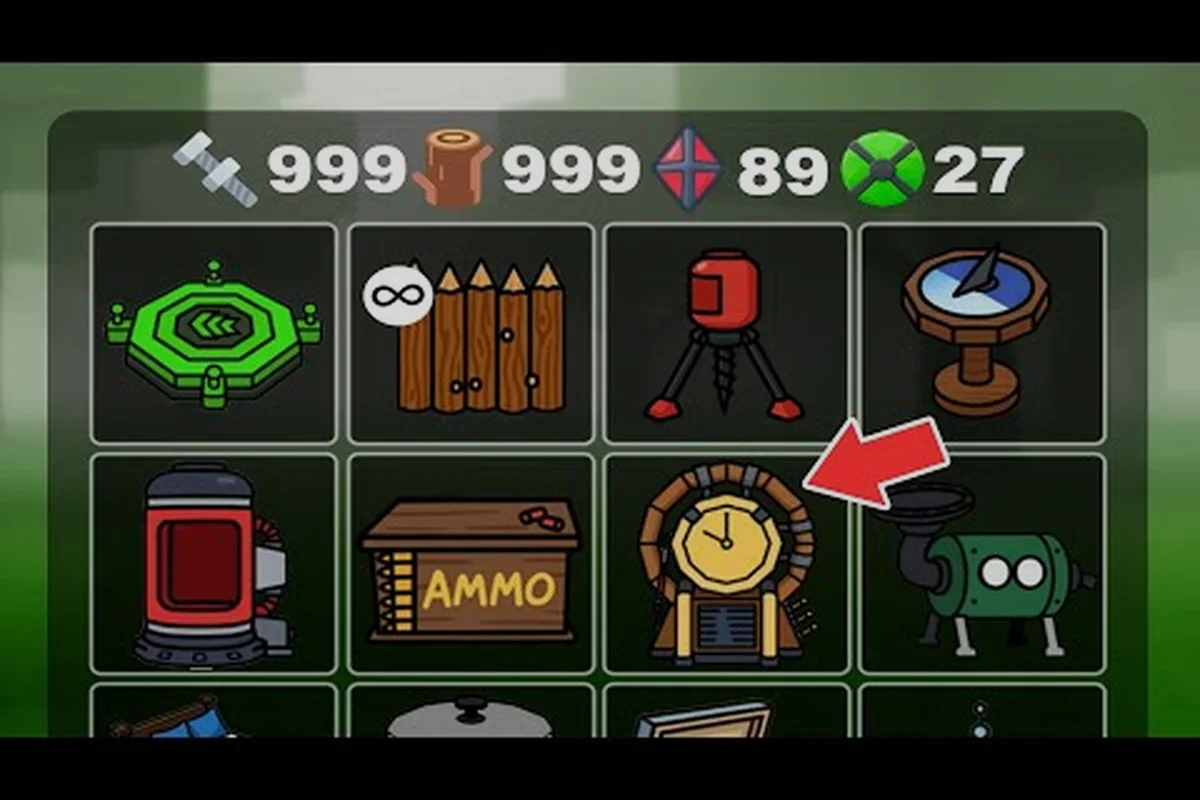
99 Nights in the Forest Items List: Tools, Gear and Loot Guide
Browse the full 99 Nights in the forest items list — axes, bandages, flashlights, food, and fuel with where to find each tool in the forest.

99 Nights in the Forest Cooking Food at the Campfire: Recipes
Master 99 Nights in the Forest cooking food at the campfire with the best recipes, fuel combos, and stat-boosting meals to keep your squad alive.
All Articles
99 Nights in the Forest Sundial: Track Day and Night
Master the 99 Nights in the Forest sundial — see what it does, how to craft it, and why tracking daylight keeps your camp one step ahead of forest threats.

99 Nights in the Forest Taming Flute Upgrade: Crafting Tiers
Power up your 99 Nights in the Forest Taming Flute. See upgrade tiers, fuel costs, and which animals unlock once your flute reaches the next level.
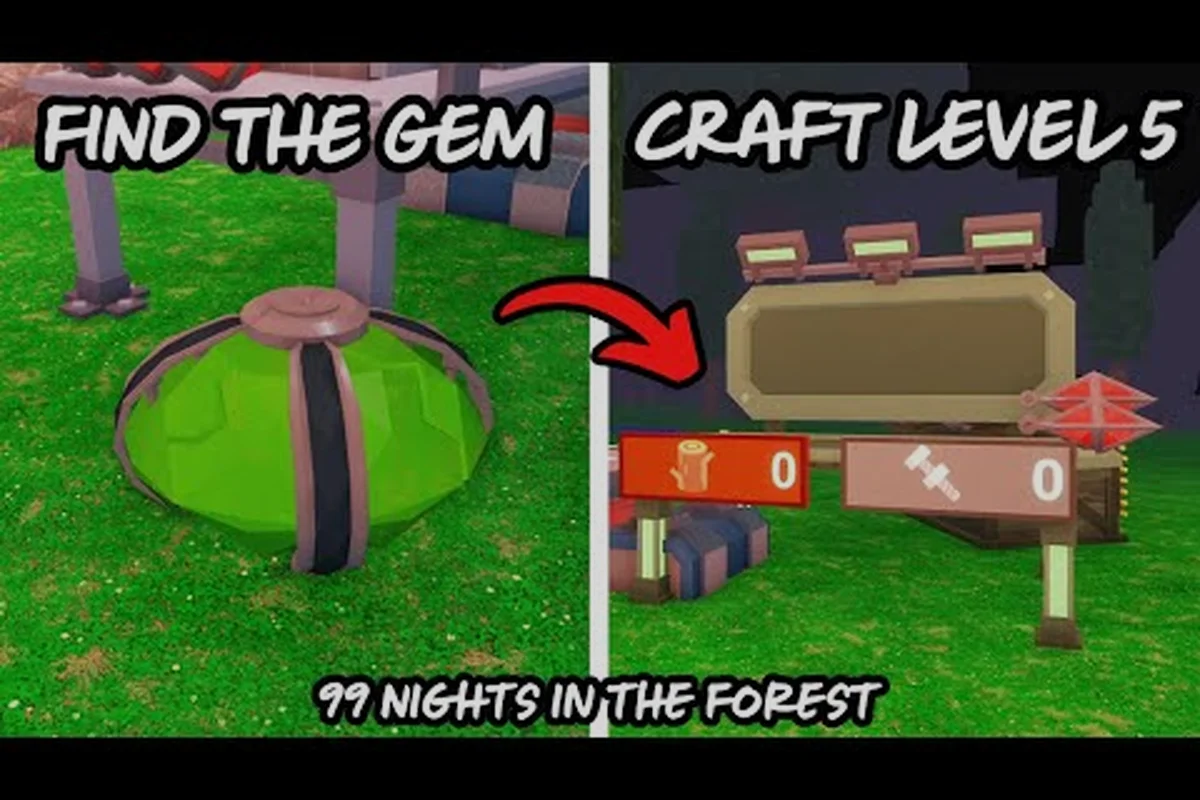
99 Nights in the Forest Tier 3 Crafting Bench: Unlock Recipe
Unlock the 99 Nights in the Forest tier 3 crafting bench — see required materials, the chainsaw secret recipe, and every advanced tool it opens up at camp.
99 Nights in the Forest Items: Every Tool, Weapon and Resource
Browse every 99 Nights in the Forest items catalog from axes and wood to flashlights, sacks, and compasses — see what each tool does and where to find it.